
How to Prepare for British Army Basic Training
How to Prepare for British Army Basic Training – Go From RFT(E) to Battle-Ready
More recruits now arrive unable to pass the Role Fitness Test (Entry), RFT(E). Because RFT(E) is a required condition of entry, the Army asked its recruitment partner (Capita) to push stronger guidance between the Assessment Centre and the start of basic training.
The core message is this: When you pass the assessment, consider it as the start of your journey and not the end. Recruits who just scrape through meet a hard reality of a timed 2 km run, outdoor terrain, and rapid progress toward loaded marches and battlefield tasks.
In this article, I will share with you some actionable steps for a pre-basic plan that builds running ability and technique, single-leg strength, hill capacity, and load carriage safely and progressively.
Why People Fail RFT(E) After “Passing” Assessment
RFT(E) is not the beep test. The beep test rewards short shuttle accelerations and decelerations on flat indoor floors. On the other hand, the RFT(E) run measures a sustained effort over 2 km that is conducted outdoors with pacing, wind, surface variability, and gradients. Many candidates train solely for beeps. Unfortunately, they arrive at basic without the aerobic base or pacing skill to hold a hard and steady pace for 8 to 12 minutes.
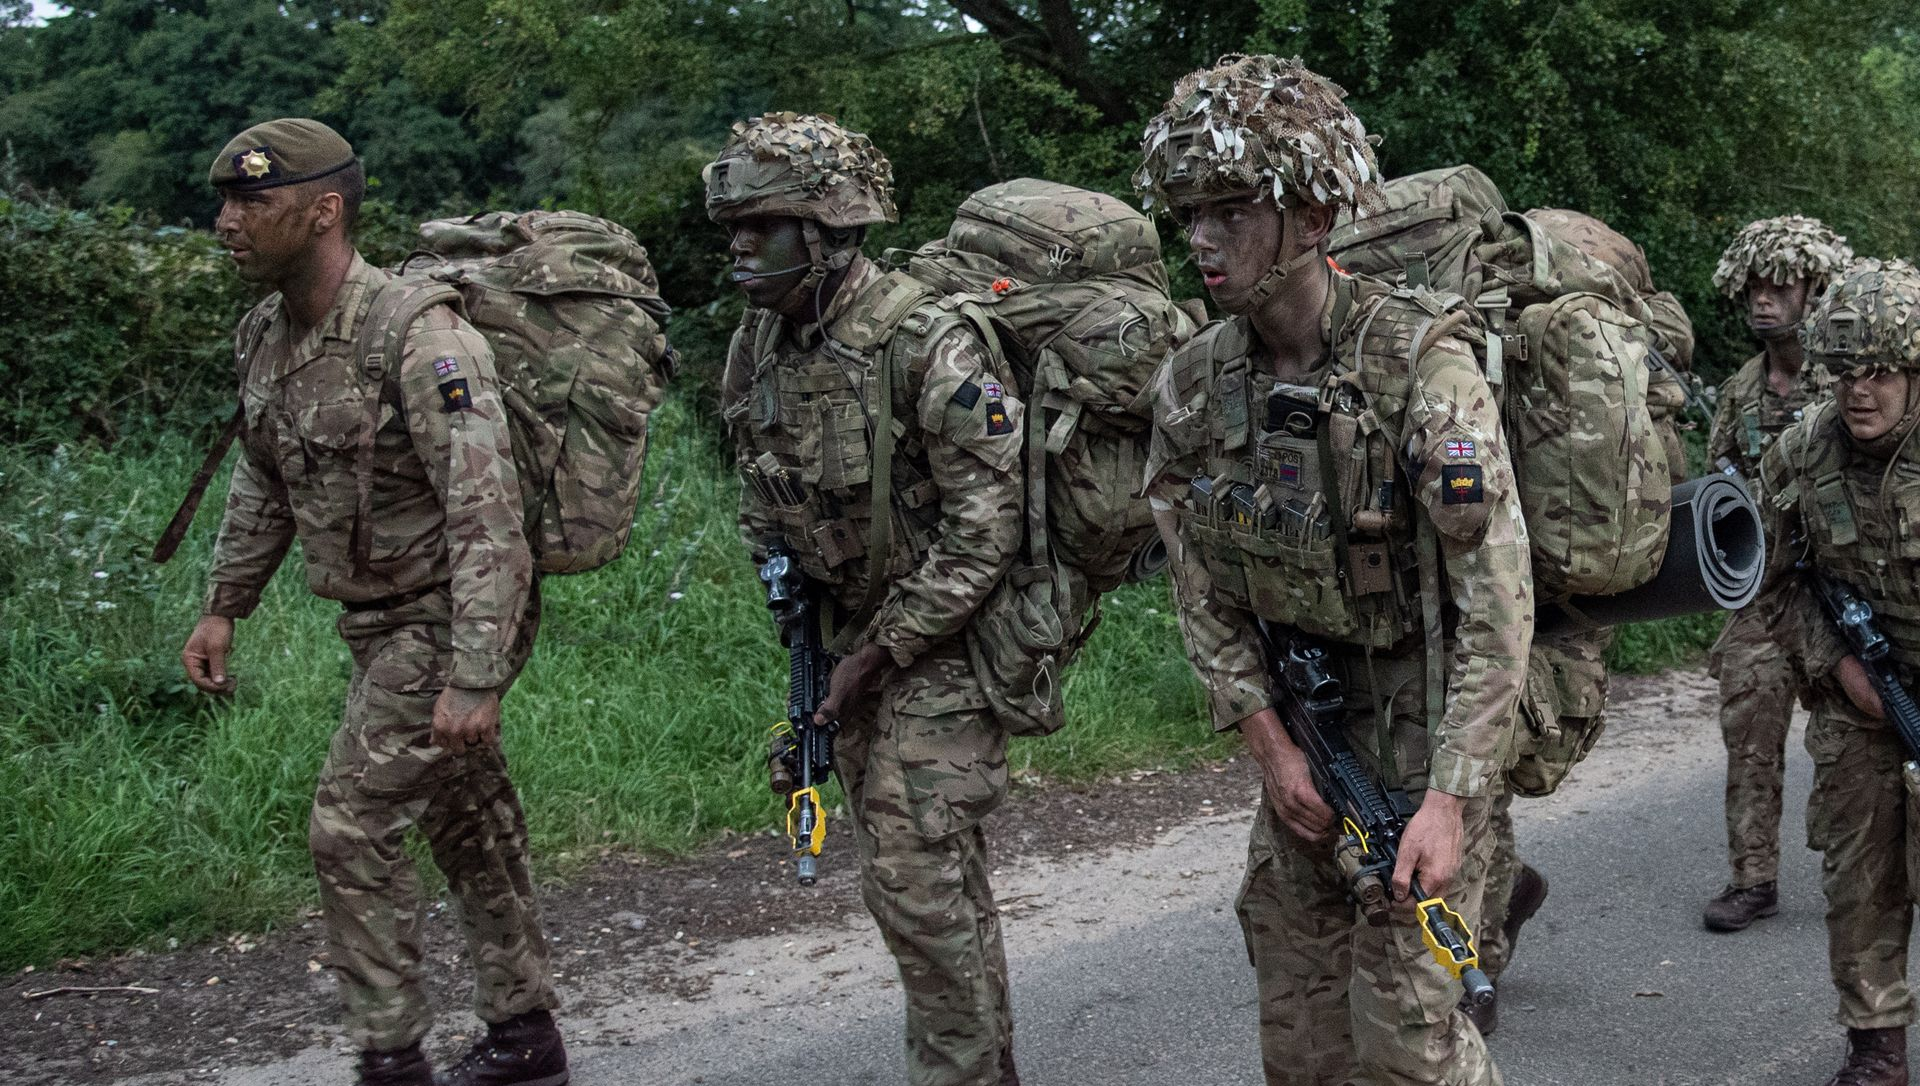
The issue becomes more serious when basic training introduces heavier, faster, and longer work (e.g., loaded marches (TABs), casualty drags, jerrycan carries, equipment lifts, and assault courses). If you meet only the bare minimum at entry, the jump to infantry end-of-course standards (e.g., 4 km with 40 kg in under 50 min, then 2 km with 25 kg in under 15 min) is quite the challenge.
Think of it this way. The risk is not just failure, but it’s also injury. A
study of British Army infantry recruits found 58% sustained at least one training injury. These were mostly caused by overuse injuries in the lower legs. The same study found that recruits with lower fitness (e.g., slower 2.4 km run times) and very low body mass were more likely to get injured. Reviews summarised by
Mountain Tactical Institute also confirmed this. They said that lower aerobic fitness correlates with higher injury rates in load carriage. Interestingly, gradual progression and optimal ruck frequency (about weekly) lower risk (MTI).
What the RFT(E) Measures?
RFT(E) consists of three parts:
● 2 km Run (after an 800 m warm-up) – It assesses aerobic fitness and pacing.
● Mid-Thigh Pull – It assesses lower-body and core force production.
● Seated Medicine Ball Throw – It assesses upper-body explosive power.
The run sets the aerobic floor you need for all subsequent training. The mid-thigh pull and medicine-ball throw indicate whether your legs, hips, trunk, and shoulders can produce and transmit force. This is absolutely indispensable for kit carriage, drags, climbs, and lifts.
Table 1. British Army RFT(E)
| Test Component | What It Measures | Test Component What It Measures Minimum Standard (General Entry) |
|---|---|---|
| 2 km Run (after 800 m warm-up) | Aerobic endurance and sustained pace. | ≤ 11:15 (role-specific faster times may apply). |
| Mid-Thigh Pull | Lower-body and core strength (isometric). | ≥ 46 units (≈ ~70 kg equivalent). |
| Seated Medicine Ball Throw | Upper-body explosive power. | ≥ 2.9 m with a 4 kg ball. |
The Training Shift
1. Running for the 2 km
Continuous running beats shuttles for this test. That’s why you need to build an aerobic base with 2–5 km continuous runs at an easy-to-moderate pace. After that, layer intervals at or faster than target pace (e.g., 4×400 m or 2×1 km with controlled recoveries). Next, add tempo segments (1.5–3 km) to raise your lactate threshold. Finally, time your 2 km so you learn how it should feel at each split.
You also need to remember that the terrain matters. Train outside when possible. Moreover, include gentle hills, grass, and trails so ankles, hips, and feet adapt to surfaces you will see at basic. Even slight gradients require technique adjustments.
Here are a few tips about the technique you should use:
● Upright posture with a slight forward lean from the ankles.
● Head up, shoulders relaxed, smooth arm swing (drive elbows back and avoid cross-body flail), midfoot strike under your centre of mass, and a quick cadence.
● Short drill sets (high-knees, A-skips, heel flicks) sharpen mechanics.
● Good form spares shins, knees, and calves, which is critical when you run later in boots.
To lower your risk of injury, increase run volume by 10 to 20% per week. You should also use mobility and soft-tissue work to keep the lower legs supple. Another option is to cross-train (bike, swim) to pad aerobic load with less impact.
Researchers concluded that most overuse issues in recruit training trace back to sudden spikes and unprepared tissues.
2. Hill Work
Hills function like strength and cardio in one. Rotate short hill sprints (20–30 seconds uphill, 6–10 reps, walk-down rest) and longer hilly steady runs. If hills are not available in your area, stadium steps are a great substitute. Hills build glutes, hamstrings, and calves. They also harden your mental game and reduce knee issues since they address hip and ankle contributions. Make sure to balance them with flats so your speed does not drift.
3. Strength with a Single-Leg Bias
Walking, running, and tabbing are single-leg activities.
Here’s how to fix this:
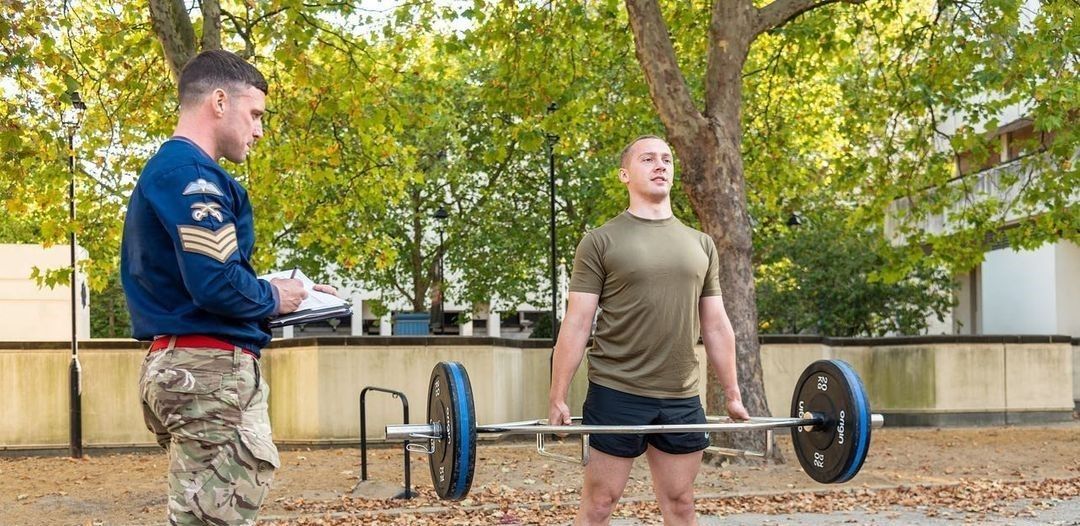
● Squats (progress from bodyweight to barbell) build the global base. Tactical coaches will tell you that to start with 1× bodyweight back squat as a baseline and 1.5× as a solid long-term target.
● Lunges/Split Squats/Step-Ups build symmetrical strength, hip-knee alignment, and pack-carry.
● Calf raises (double and single-leg) protect shins and improve push-off.
● Single-leg hops train power and expose side-to-side gaps. I recommend that you aim for ≥90% symmetry before heavy load carriage.
● Core (planks, side planks, dead bugs) stabilises the trunk for running and rucks. This is important if you want to reduce the risk of back strain.
● Upper body (press-ups, pull-ups/lat pulls, overhead presses) supports drags, carries, and weapon/pack handling.
4. Load Carriage (tabbing): Build and Don’t Guess
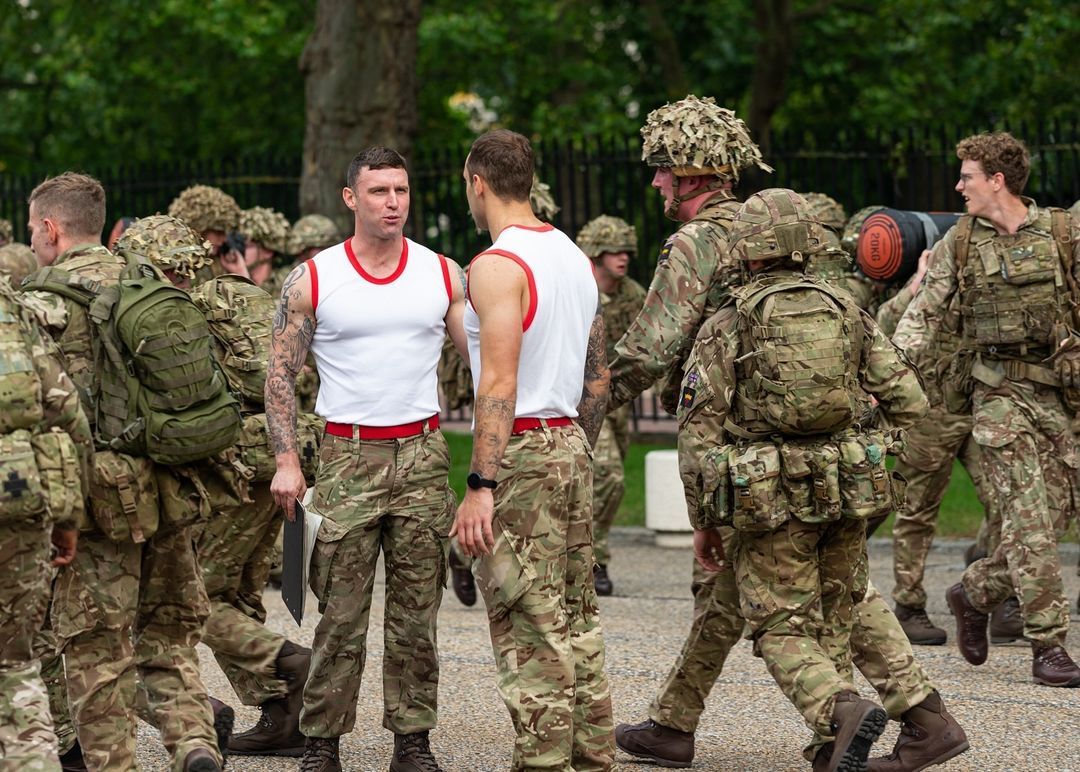
Basic training will expose you to 15-25 kg loads even in non-infantry roles. Impressively, infantry will handle 30+ kg routinely. The first time you move under 25 kg should not be a pass/fail event. Instead, you must earn the right to load carriage. First, establish run capacity and strength. After that, introduce rucks once per week and progress cautiously.
To do it right, follow this form:
Chest tall, ribs down, brace the core, pack tight to the body, hips square, and avoid slouching. Start with brisk walking (≥6 km/h). Jogging under load is optional and should be judicious.
Reviews summarised by MTI recommend about weekly heavy load exposure for general trainees. More frequent heavy rucks tend to spike overuse risk. Vary distance, load, terrain, and time on feet, but progress one variable at a time to keep tissues adapting.
A Simple Week That Scales
You can transform the elements above into a repeatable sequence that consists of 7 days. It boils down to two strength sessions, two runs (one interval, one steady/hilly), one tab, and two recovery-dominant days.
As your fitness level rises after a few weeks, nudge the dial with small changes. For example, a slightly faster 2 km split, a little more time at tempo, one extra set of split squats, or +2-3 kg on the pack.
Table 2. Weekly Training Plan (Repeat and Progress)
| Day | Focus | Example Session Details |
|---|---|---|
| Mon | Strength (Lower and Core). | Squats 3×8. Lunges or Step-ups 3×10/leg. RDL 3×8. Calf Raises 3×15. Plank 3×60 seconds. Side Plank 3×45 s/side. |
| Tue | Run (Intervals and Hills). | Warm-up 10 min. Next, 6×400 m faster than 2 km pace or 6×90 s uphill. Around 2 2-minute walk between reps. Cool-down 10 min. |
| Wed | Recovery and Mobility. | 20-30 min easy bike or swim + lower-body mobility (ankle, hip, T-spine) + light soft-tissue work. |
| Thu | Run (Steady and Hilly). | 4–6 km continuous at a moderate pace. Include gentle hills and track time weekly. |
| Fri | Strength (Upper and Power). | Pull-ups/Lat Pulls 3×8–10. Press-ups 3×15. Overhead Press 3×8. Farmer’s Walk 3×30 m. Single-Leg Hops or Box Jumps 3×5/leg. |
| Sat | Tab (Progressive). | Start with about 4 km with 5–15 kg at a brisk pace (≥6 km/h). Each week, increase either distance or load slightly (not both). |
| Sun | Full Rest. | Sleep, nutrition, light stretch. If sore, swap with an easy 20-minute walk and gentle mobility. |
Nutrition and Sleep
To make sure your body has what it requires to cover, your protein intake should be adequate (1.5-2.0 g/kg/day). You must also not forget about complex carbs and micronutrient-dense foods.
Moreover, prioritise 7-8 hours of sleep to consolidate adaptations. Hydrate consistently, especially around runs and rucks.
How to Progress Tabbing Without Breaking Down
A practical way to scale ruck stress is to build either distance or load in small steps. Below is a baseline four-week glidepath you can extend. If you feel behind at any point, repeat the week rather than forcing progression. Foot care (socks that manage moisture, broken-in boots, lacing that avoids hot spots) is non-negotiable.
Example of a four-week ruck progression:
● Week 1 – 3-4 km with 5 kg (brisk walk).
● Week 2 – 4-5 km with 5 kg (brisk walk)
● Week 3 – 5-6 km with 5 kg. Add gentle hills or a varied surface.
● Week 4 – 3-4 km with 5-7 kg or based on your tolerance.
If a session causes you sharp pain (not normal muscle soreness), back off on load or distance. Most overuse issues are dosage problems.
Common Pitfalls and how to fix them
A massive spike two weeks out from intake increases injury risk and does little for aerobic remodelling. To fix this, start now, move the needle weekly, and protect your recovery.
Training to the beep and not the run
Shuttle-only prep stalls at a continuous 2 km test.
How to fix
Make continuous runs the spine of your plan; preserve a small amount of speedwork.
Skipping hills
Flat-only preparation neglects key musculature and mental tolerance.
How to fix
Insert one hill session or a hilly route each week.
Neglecting single-leg work
Symmetry and stability decide how your knees, shins, and hips cope with volume.
How to fix
Prioritise lunges, split squats, step-ups, and single-leg hops.
Tabbing too heavy
Daily or near-daily heavy Tabs are a recipe for overuse injuries.
How to fix
Around 1×/week or by weekly progressive Tab. Progress one variable at a time.
Ignoring pain signals
Soreness is normal. However, sharp joint or bone pain is not.
How to fix
Reduce load/impact, start moving again, and resume progression only after symptoms settle.
Undershooting sleep and protein
Adaptations happen off the gym floor.
How to fix
Get some sleep. No matter how generic this tip may sound, it’s an indispensable practice. Eat meals with high-quality protein 3 to 4 times a day.
Takeaway Messages
Here are a few points to take from this article:
● Exceed the minimums now to reduce failure and injury risk later.
● Build a broad aerobic base with continuous runs. After that, sharpen your physical condition with intervals and a tempo near 2 km pace.
● Use hills to gain free strength and resilience. Keep one flat session to preserve speed.
● Make single-leg strength and core stability mandatory (every stride and step under load is a single-leg event).
● Tab once weekly or bi weekly, progress slowly, and pair it with strength + aerobic work.
● Guard recovery as seriously as training (e.g., sleep, nutrition, hydration, mobility).
If you have any questions about how to prepare for The British Army's basic training, please feel free to contact us.